

Application Description
Master the art of effortless web translation with Google Chrome! This guide provides a step-by-step walkthrough on efficiently translating web pages, selected text, and customizing your translation settings. Unlock seamless multilingual browsing with these simple techniques.
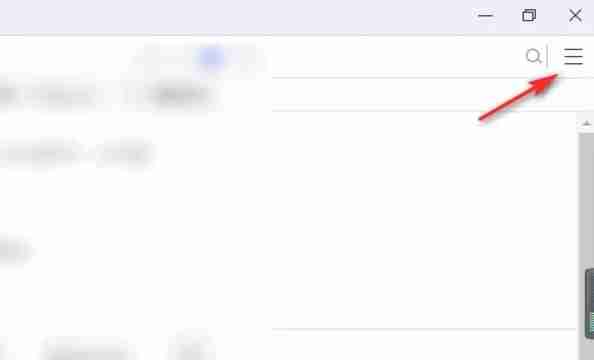
Step 1:
Locate and click the "More" menu in the upper right-hand corner of your Google Chrome browser (usually represented by three vertical dots or three horizontal lines).
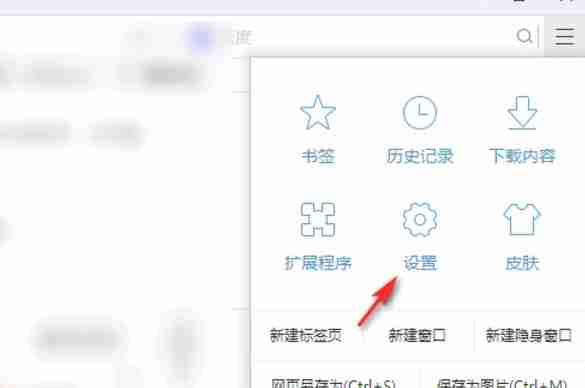
Step 2:
Select the "Settings" option from the dropdown menu. This will open your browser's settings page.
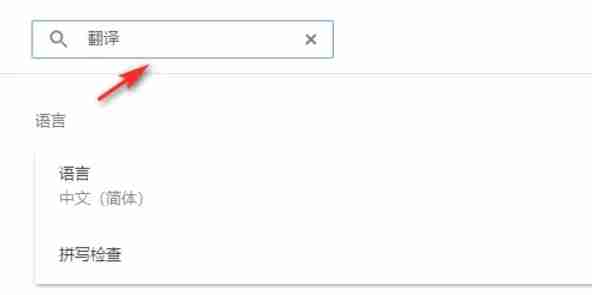
Step 3:
Utilize the search bar at the top of the settings page. Enter "Translate" or "Language" to quickly locate the relevant settings.
Step 4:
Once you've found the translation settings, you'll see an option usually labeled "Languages" or "Translation services." Click on this option.
Step 5:
In the language settings, you'll find a dropdown menu listing the languages supported by your browser. Click on "Add languages" or review your existing languages.

Step 6:
In addition to adding or managing languages, ensure the option "Offer to translate pages that aren't in your language" is enabled. This will prompt Google Chrome to automatically offer translation for non-default language web pages. Enjoy effortless global browsing!
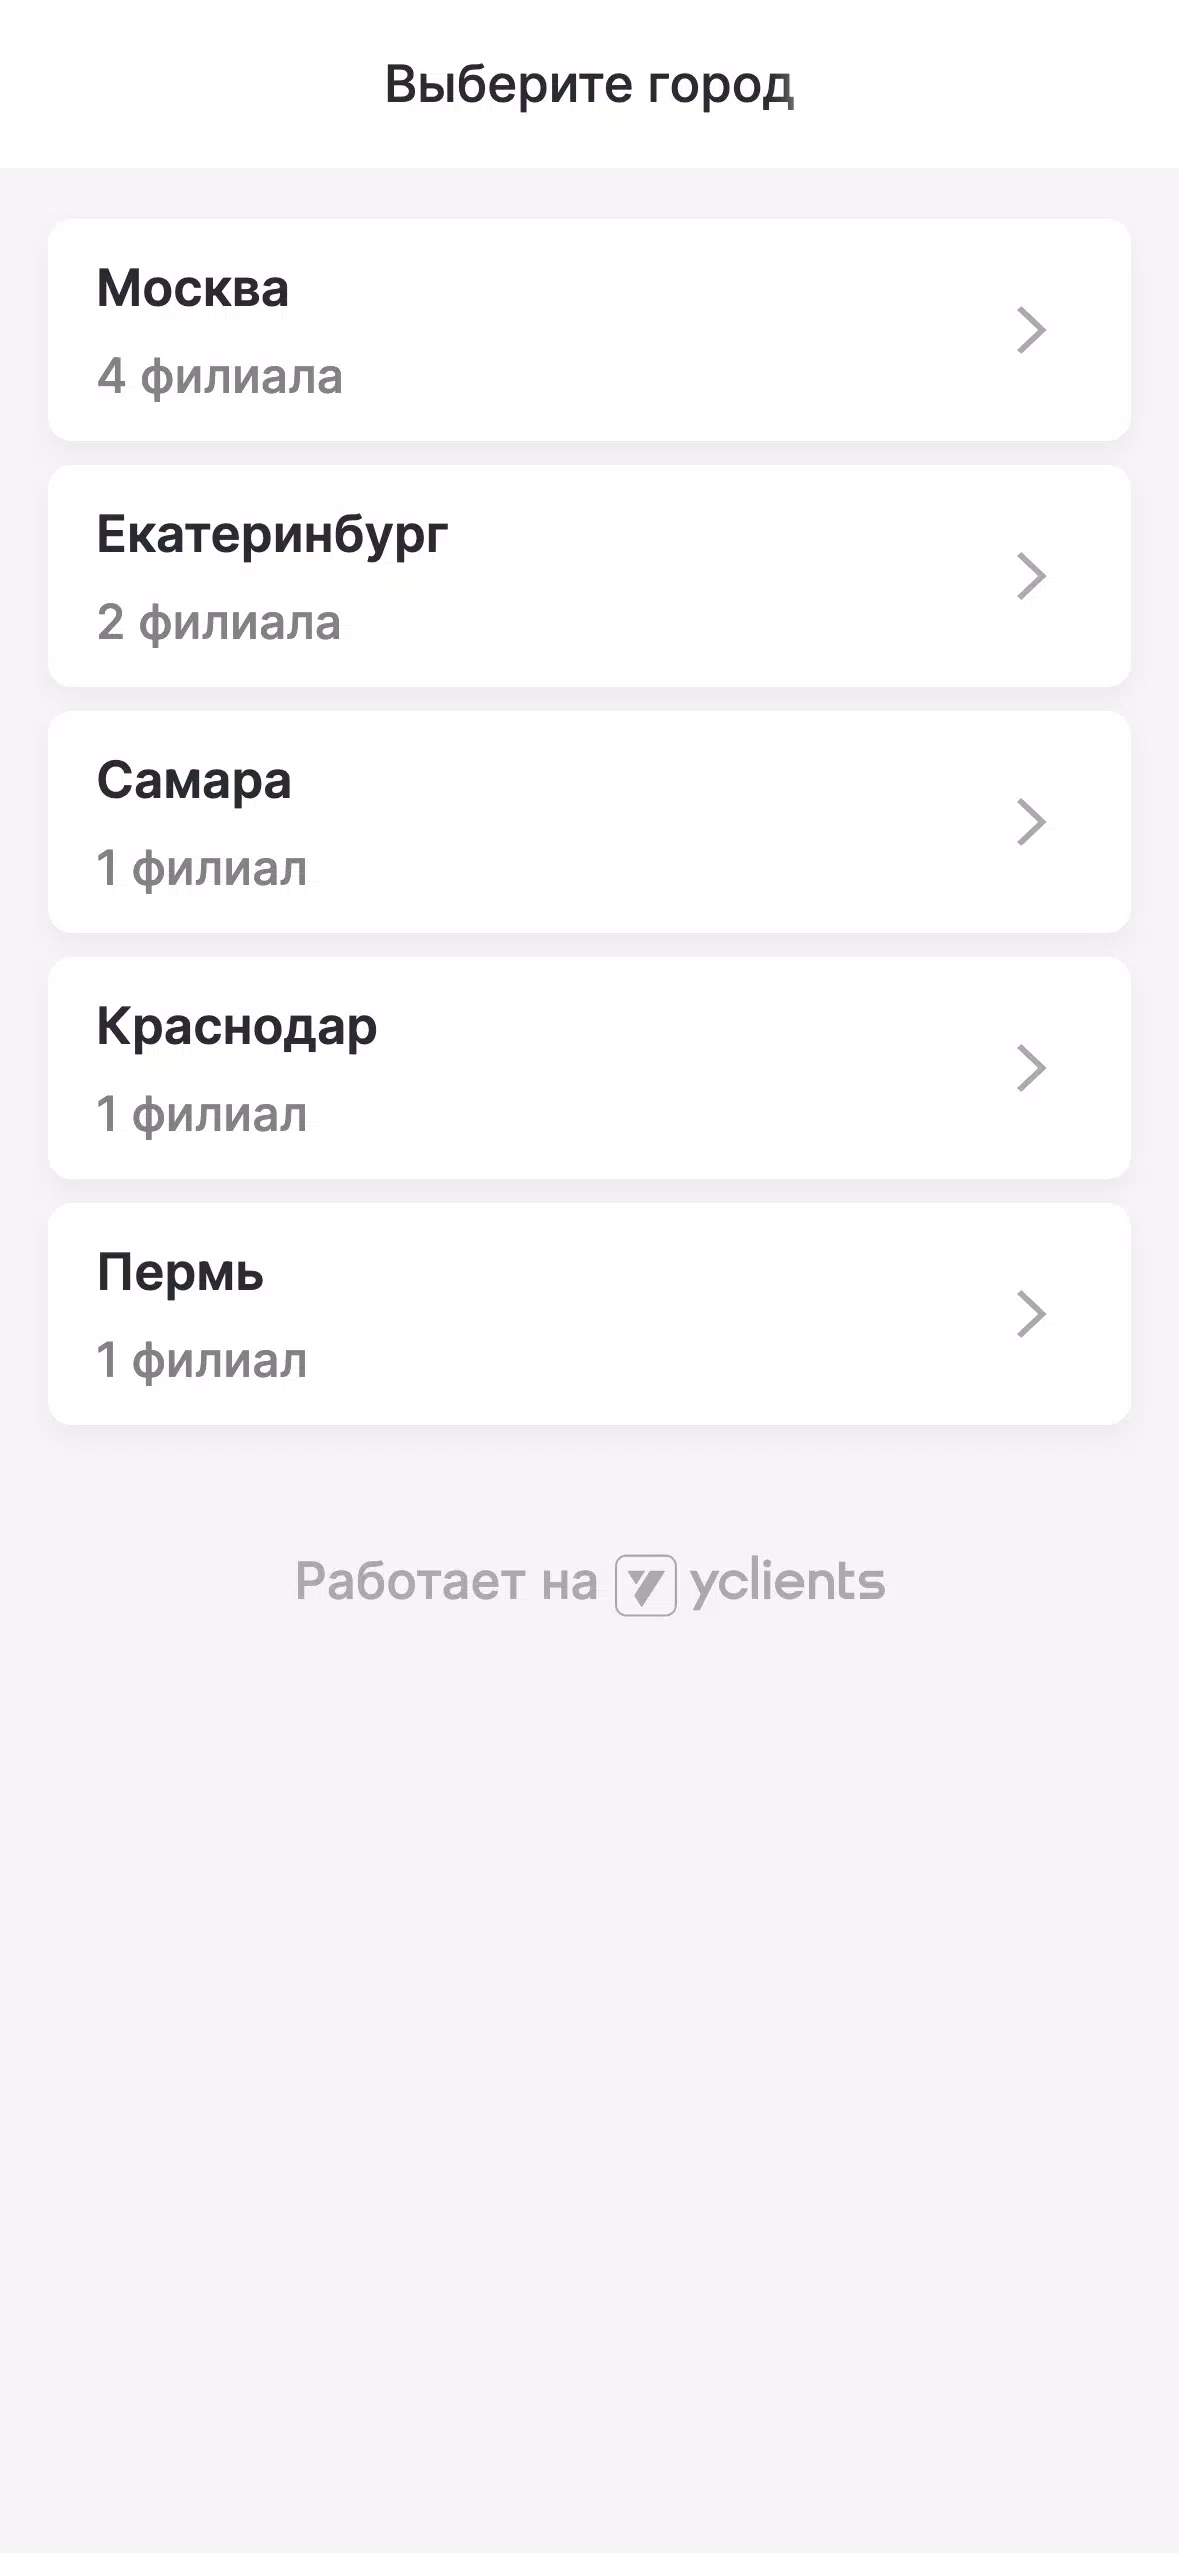
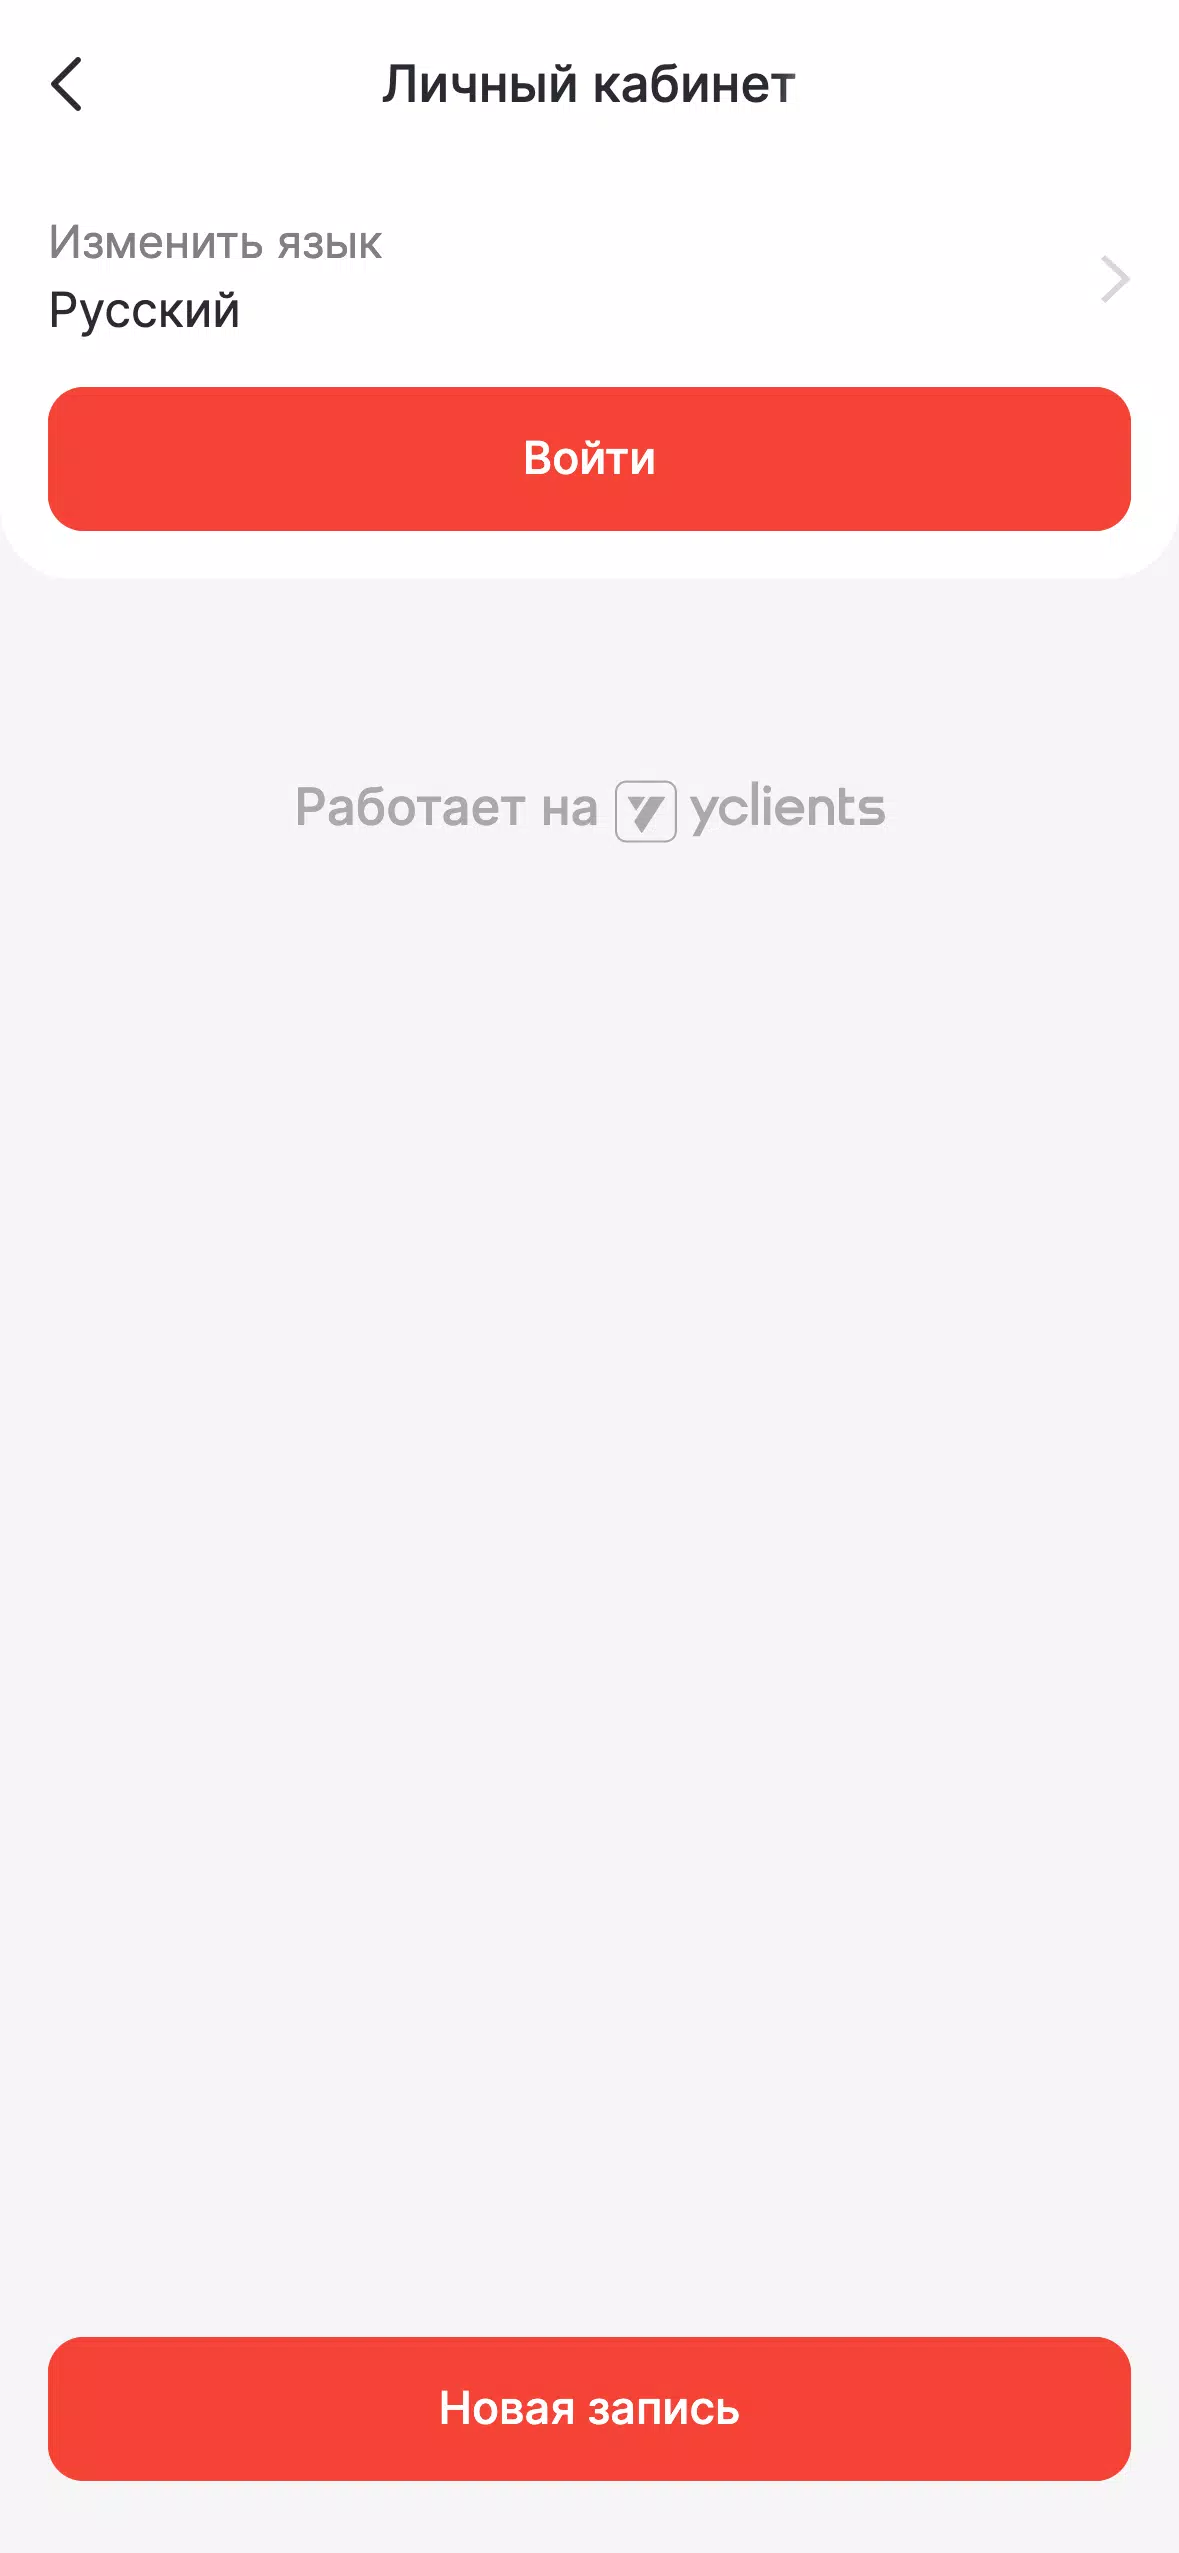
BoyCut Screenshots

Reviews
Post Comments
Trending Games
Trending apps


Topics
More
Best Tools for Home Improvement Projects
Fun Educational Games to Learn and Play
Immersive Strategy Games: Dive into Tactical Combat
Hyper-Casual Games: Fun and Addictive Mobile Games
Top Lifestyle Apps to Enhance Your Life
Top-Rated Adventure Games to Play Now
Essential Tools for Everyday Life
Best Strategy Games for Android
Latest Articles
More


A Beginner's Guide To The Dragon Odyssey
Mar 21,2025