How to Connect the Asus ROG Ally to a TV or Gaming Monitor
Author: Christian
Mar 22,2025

The ROG Ally stormed onto the gaming scene in 2023, offering a compelling alternative to the Steam Deck. Its Windows operating system grants access to an even wider library of games. The 2023 ROG Ally X iteration not only boasts upgraded internals but also a more comfortable, better-cooled design.
While its portability is a major draw, enjoying your games on a larger screen is equally appealing. Fortunately, both ROG Ally models easily connect to external displays, letting you experience your games on a TV or monitor. Below, we'll detail how to connect your ROG Ally, providing step-by-step instructions and recommendations.
Connecting your ROG Ally to your TV or monitor is straightforward with an adapter. From compact dongles to direct cables and the official ROG Gaming Charger Dock, numerous options exist.
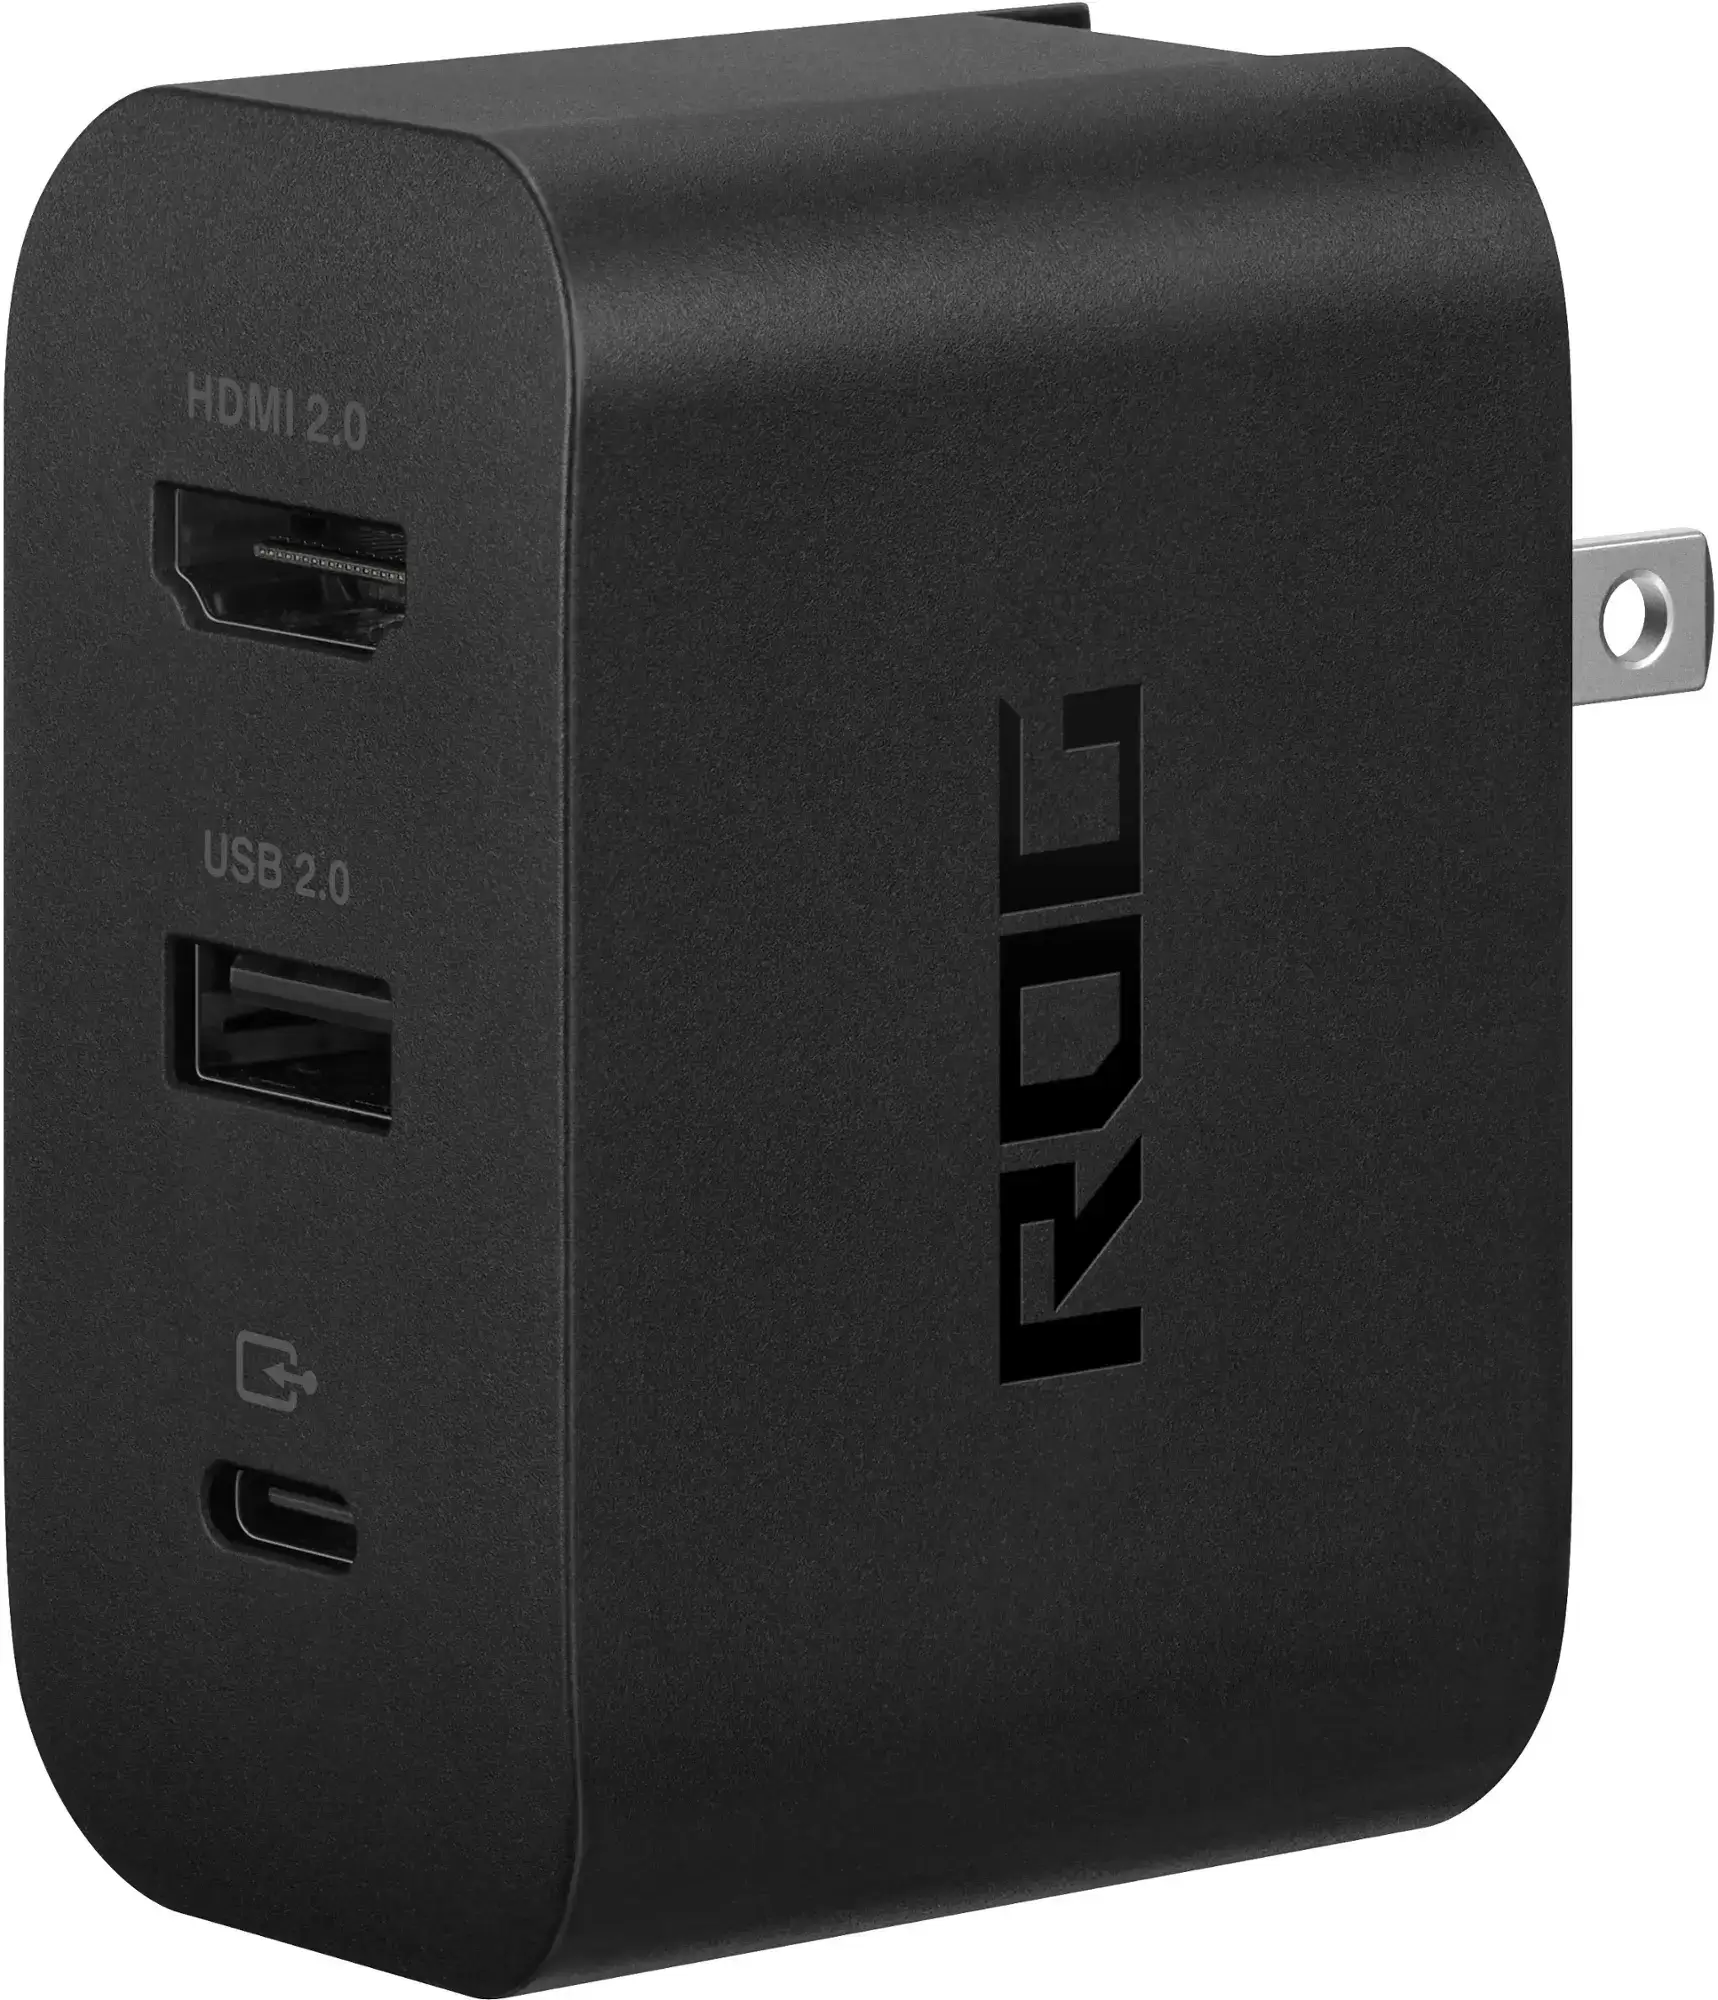
This offers a simple, space-saving solution. The official ROG Gaming Charger Dock serves as both a charger and an adapter. You only need a USB-C and an HDMI cable. It also includes a USB-A port for connecting a mouse and/or keyboard.
Alternatively, a third-party USB-C to HDMI adapter connects directly to the ROG Ally's USB-C port. An HDMI cable then links the adapter to your TV or monitor. For a single-cable setup, consider a direct USB-C to HDMI cable.
Note: Some USB-C to HDMI adapters include a passthrough USB-C port for charging. If yours does, you'll need an additional USB-C cable and power adapter.
For a more console-like experience, consider a docking station. While there's no official ROG Ally dock (besides the ROG Gaming Charger Dock), many third-party options are available, offering a stand for your Ally while charging.
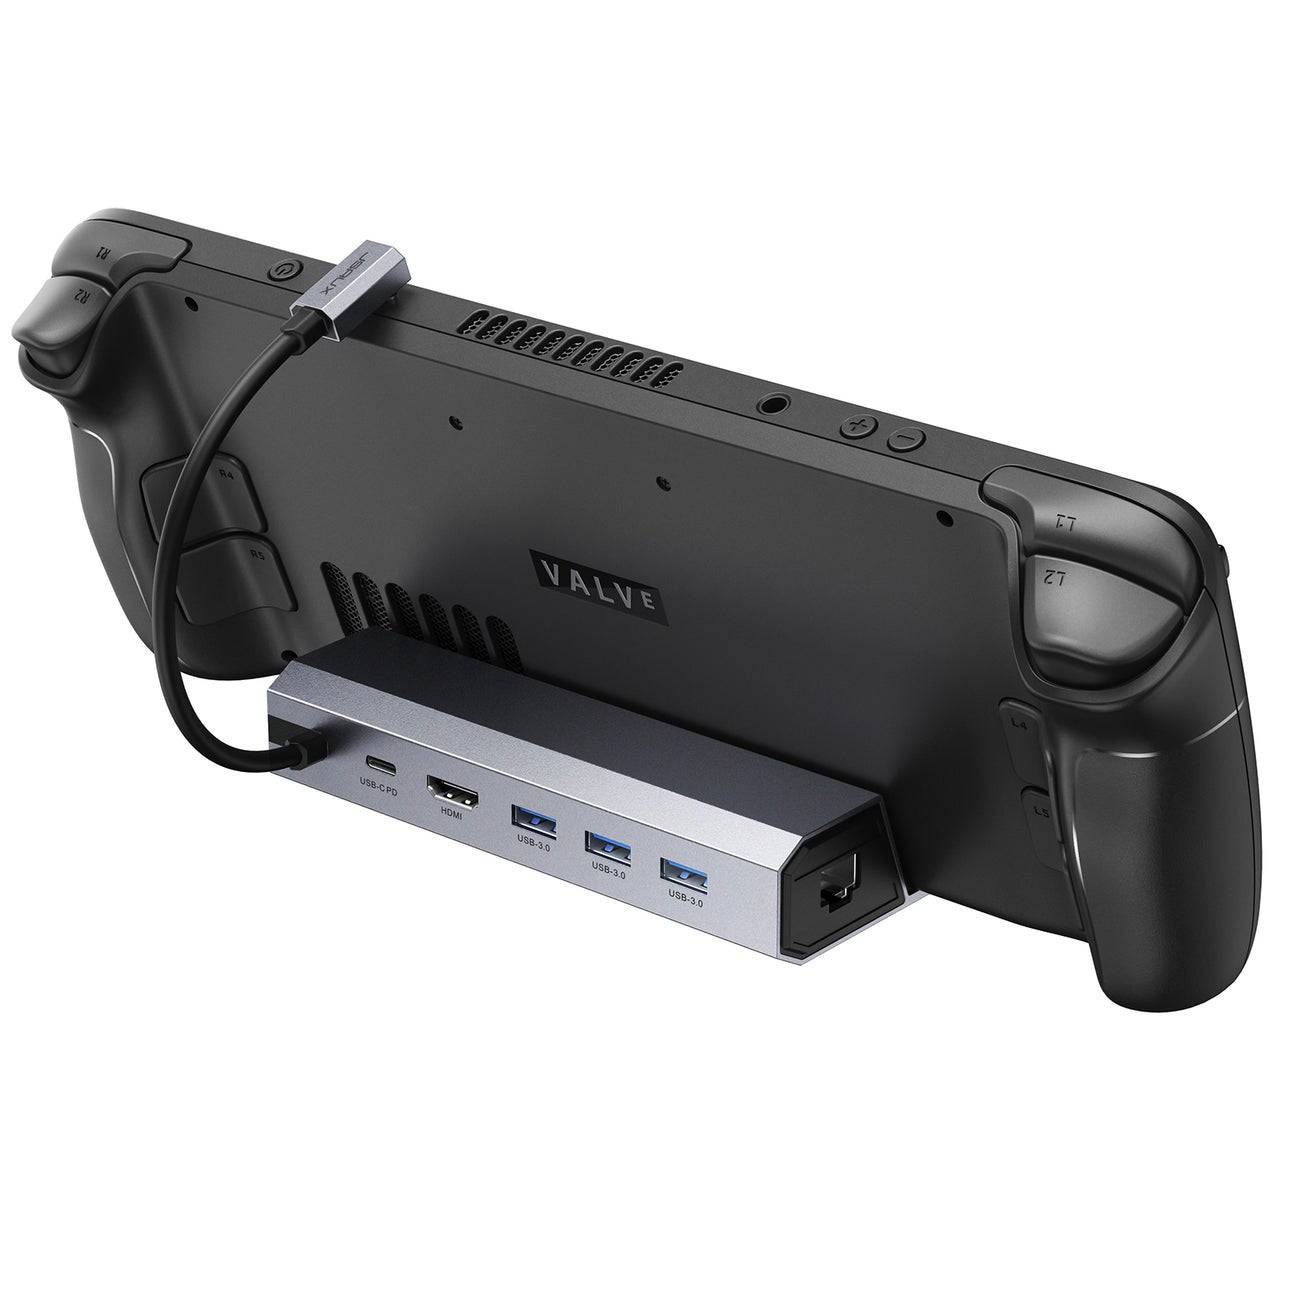
This lightweight, compact dock provides fast charging (2100 watts) and multiple ports, also serving as a stand.
Basic docks typically include an HDMI port and a USB-C passthrough charging port. More advanced docks offer extra USB ports, Ethernet ports, SD card slots, and even DisplayPort for multiple displays.
While mouse and keyboard work, a wireless controller provides a more comfortable large-screen gaming experience. The ROG Ally supports any Bluetooth-enabled controller. Below are some recommendations (also compatible with Steam Deck):
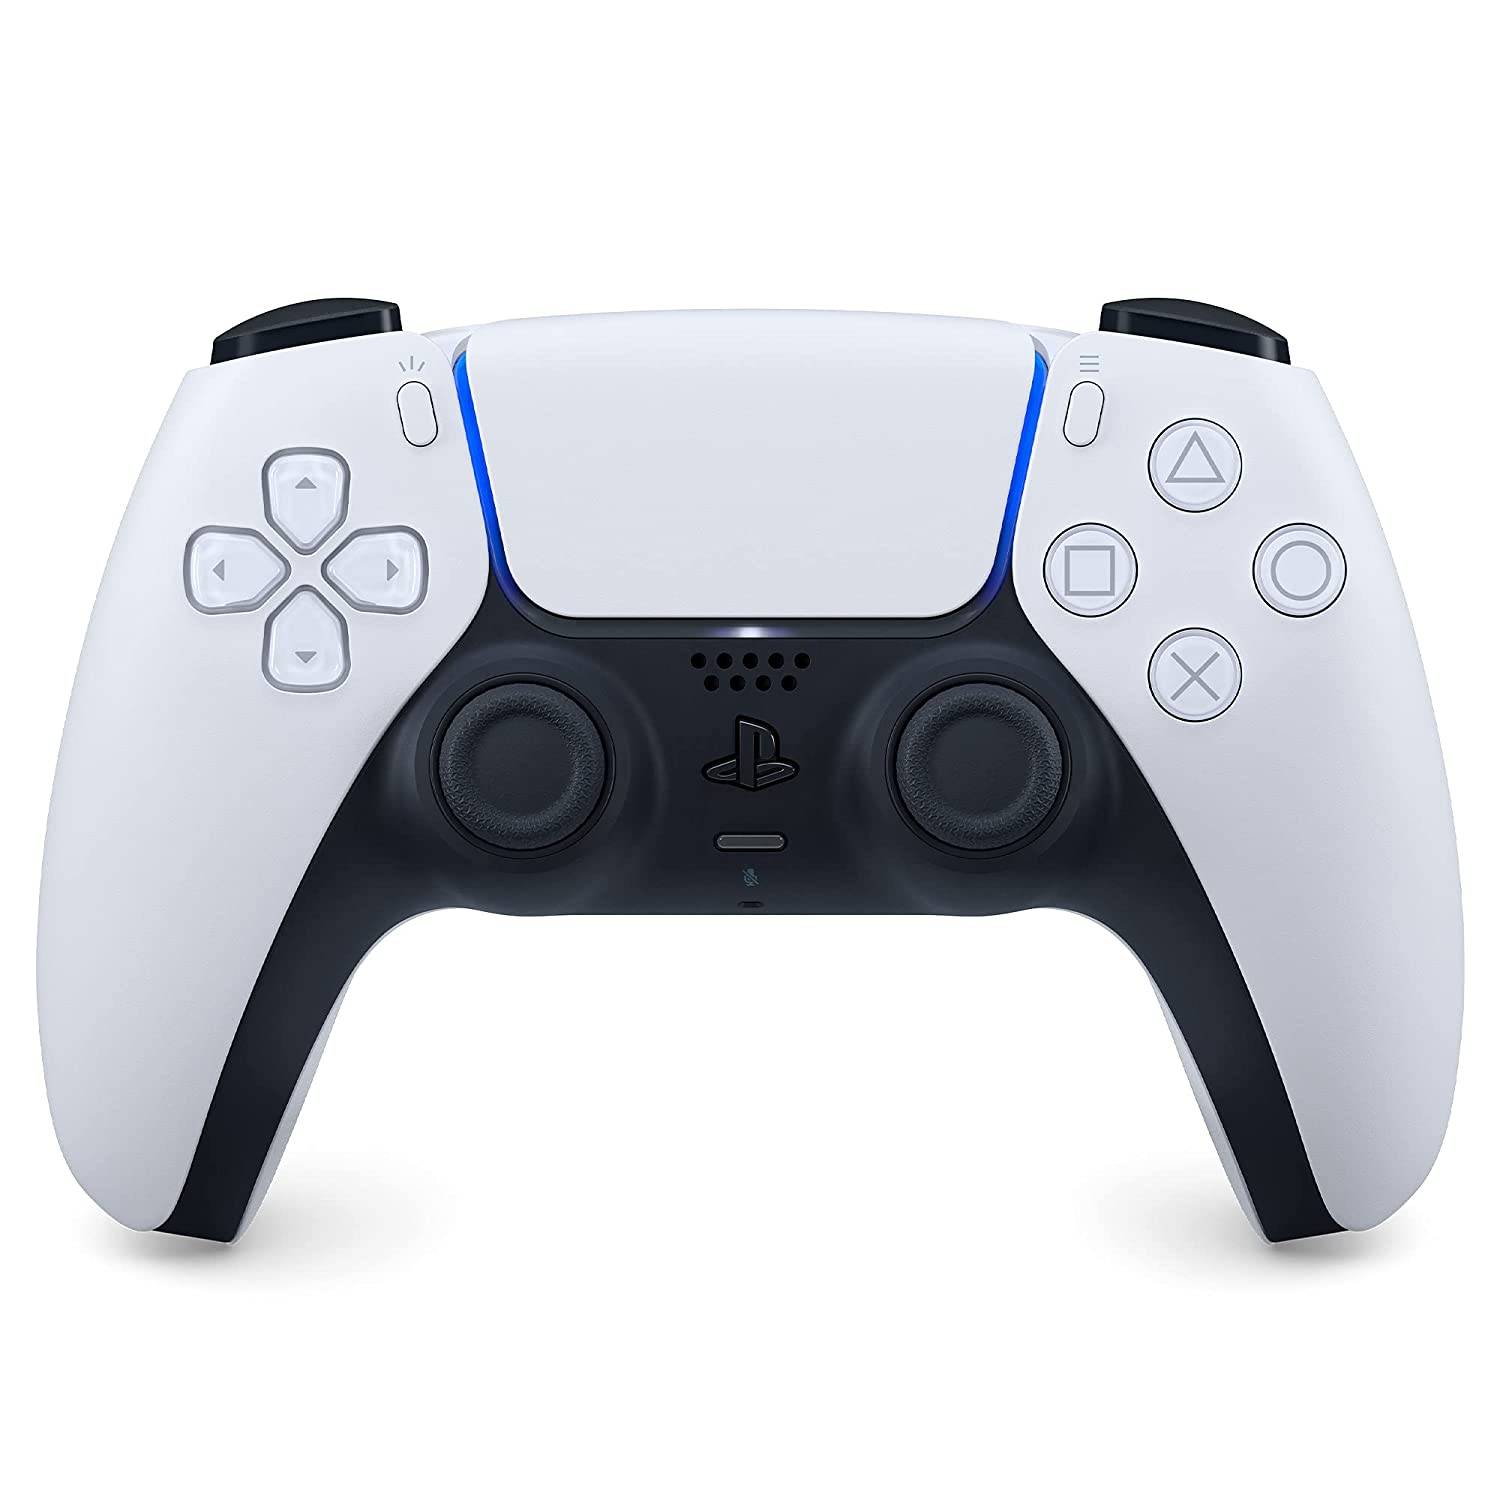

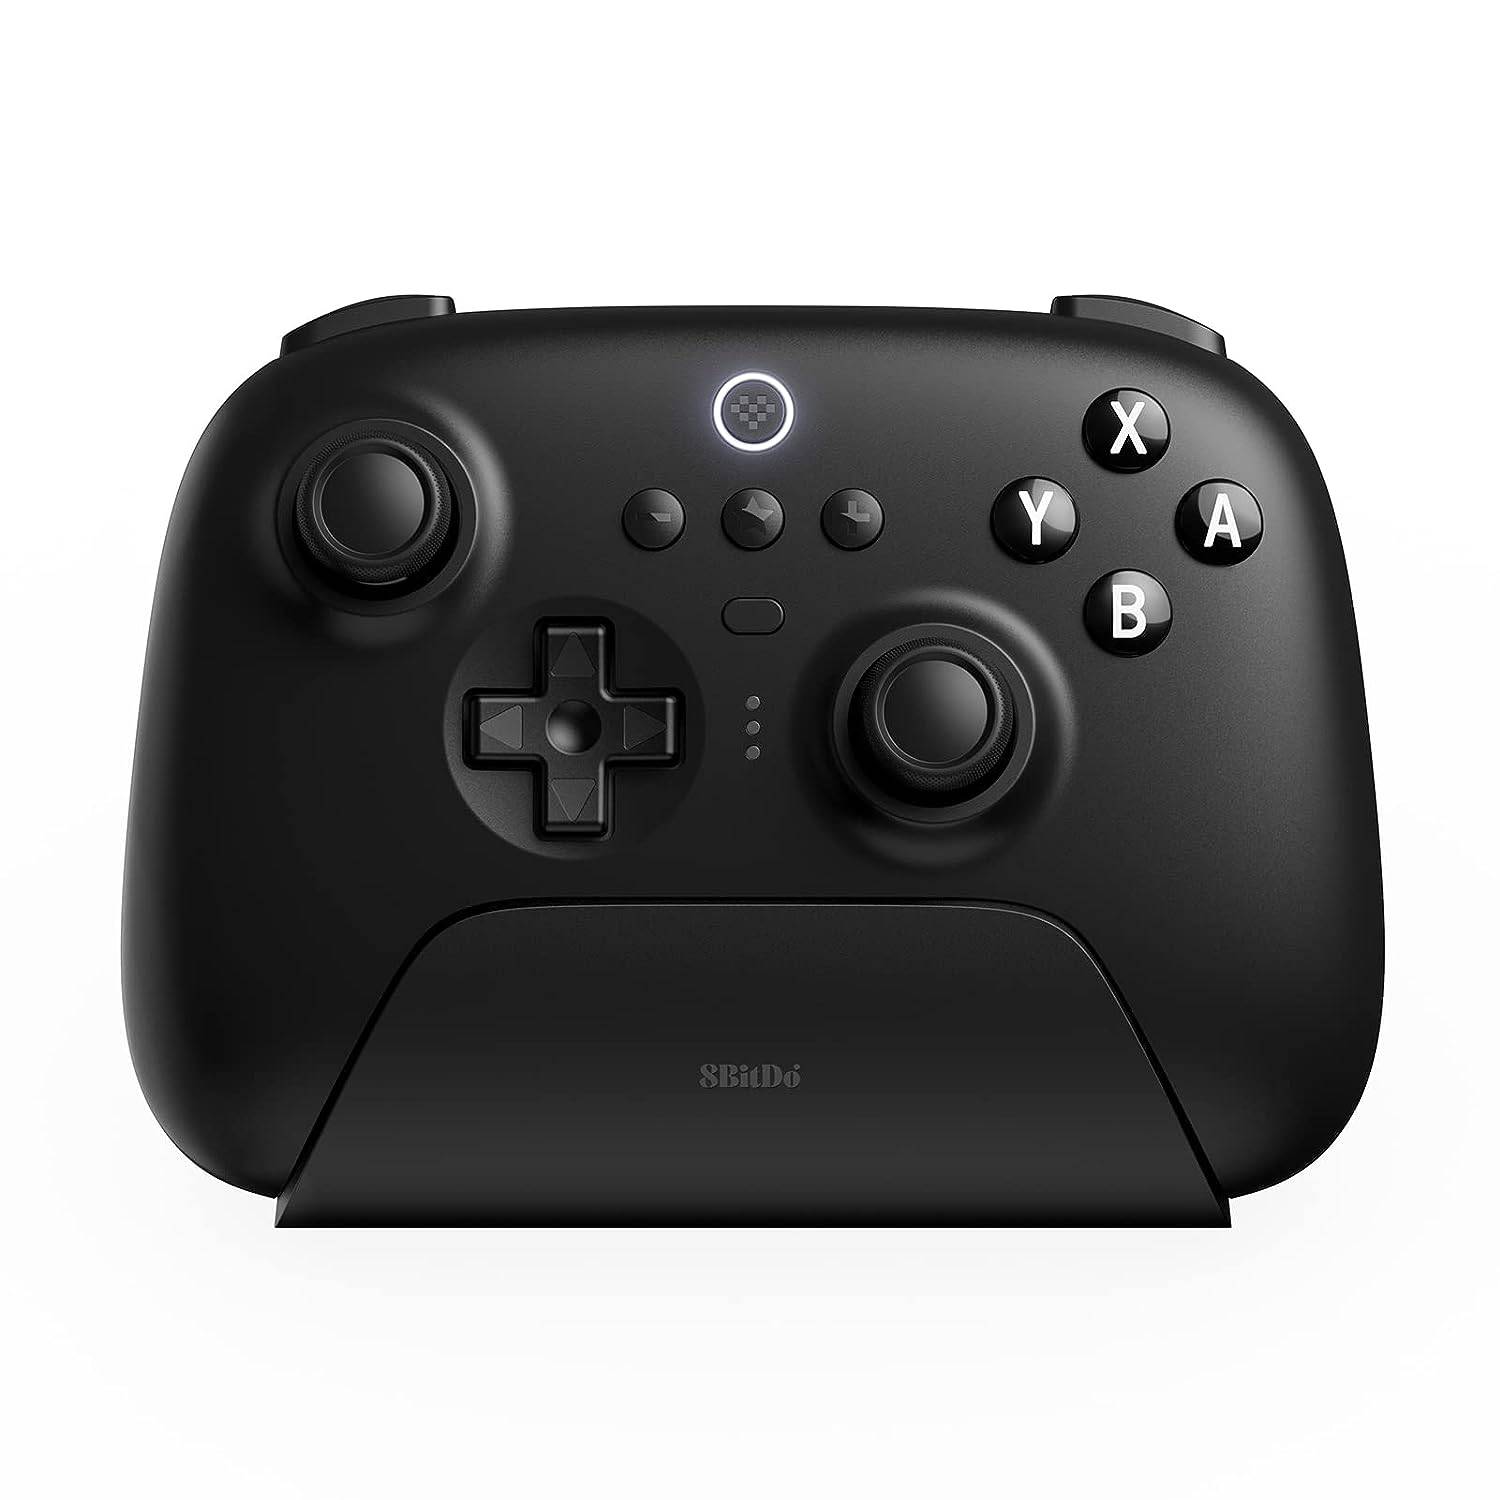


Consider first-party controllers (DualSense, Xbox Wireless, Switch Pro Controller) or numerous third-party options. 2.4GHz wireless controllers often offer lower latency and better range than Bluetooth. Wired USB controllers are also an option for close proximity.

![Nintendo Switch 2\'s Rumored C Button May Have a Weird Function [UPDATED]](https://img.1q2p.com/uploads/82/17368887736786d1c5d2662.jpg)